How to Manage Multiple Delivery Zones
Multiple zones allow a takeaway to reflect different journey times, costs and service levels. They also create more opportunities for configuration errors. The safest approach is to give every postcode one clear rule…
Multiple zones allow a takeaway to reflect different journey times, costs and service levels. They also create more opportunities for configuration errors. The safest approach is to give every postcode one clear rule and test how that rule behaves across checkout, dispatch, reporting and refunds.
Step 1: collect journey evidence
Sample real journeys in ordinary and peak periods. Record travel, parking and building-access time rather than relying only on mapping distance. Include driver return time because it affects the next order.
Step 2: define non-overlapping boundaries
Use postcode sectors, explicit postcode lists or another method supported reliably by the ordering system. Document inclusions, exclusions and boundary addresses. Avoid overlapping rules where the platform may choose an unpredictable fee or minimum.
Step 3: assign the commercial rule
| Zone field | Decision |
|---|---|
| Minimum order | Based on contribution and expected delivery cost |
| Delivery fee | Clear, unavoidable price shown before commitment |
| Promise | Preparation, assignment and realistic journey time |
| Time slots | Availability that matches driver and kitchen capacity |
| Menu | Items suitable for the expected journey |
| Channel | Direct, marketplace or third-party coverage by area |
Step 4: create peak and exception rules
Decide in advance which zone closes first when capacity falls, how pre-orders are handled, who can override a restriction and what message the customer sees. Avoid informal manual promises that bypass checkout controls.
Step 5: test every boundary
- Test valid addresses in each zone.
- Test neighbouring addresses on both sides of a boundary.
- Test an unsupported postcode.
- Test saved customer addresses after a rule change.
- Test fee, minimum and time-slot display.
- Test marketplace and direct differences.
- Test reporting by zone.
Step 6: publish changes with control
Record who approved the change, the previous configuration and the rollback method. Check all channels after publishing. If a zone fails to update, close the affected route rather than accepting orders under conflicting terms.
Step 7: review performance
Track contribution, travel distribution, late arrivals, failed deliveries, complaints and order density. Review both normal and peak periods. A zone may remain viable only at particular times or when orders can be grouped.
Maintain an operational dashboard
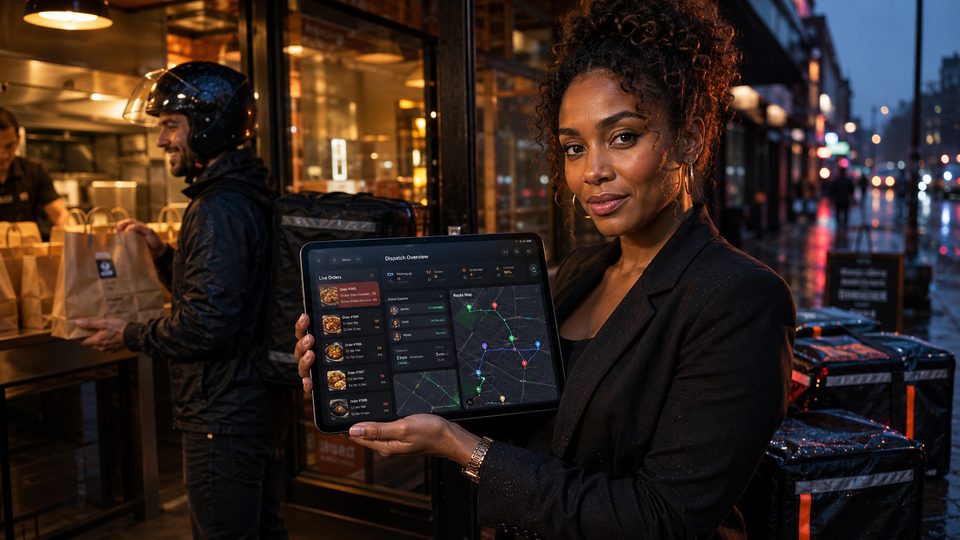
For each open zone show current order count, oldest promised time, available drivers, average recent journey and any temporary restriction. This does not require advanced software; a reliable shift board can be enough. The purpose is to let the person controlling orders change availability before the outer zones become unmanageable.
Review customer messaging
When a postcode becomes unavailable, explain the current option clearly: collection, a later slot or no service. Do not imply that an address is invalid if the restriction is temporary. Keep marketplace and direct messages consistent so staff are not asked to explain contradictory promises.
Practical next step: create a zone register with postcode coverage, fee, minimum, promise, time restrictions, owner, last test date and rollback value.
Official UK price-transparency reference
Guidance checked: 24 July 2026. Mandatory delivery and service charges should be presented clearly before the customer commits to the purchase.
Related guides
- Delivery Management — the main guide for the wider topic.
- Delivery Zones and Minimums — the broader guide that frames this implementation.
- Delivery Pricing Models — a closely related operational control to review alongside this page.
- How to Plan Delivery Minimums — a closely related operational control to review alongside this page.
Operational, legal and platform requirements can change. Recheck official guidance and supplier documentation before altering a live service.
Related practical guides
 Delivery ManagementHow to Plan Driver TrackingDriver tracking should begin with a documented operational need, not a map feature. This method helps a takeaway choose the minimum system needed…Read guide →Delivery ManagementHow to Plan Delivery MinimumsA delivery minimum should protect the economics of the journey without forcing customers into an unsuitable basket. It is one control among sever…Read guide →
 Delivery ManagementDelivery Route OptimisationRoute optimisation should improve completed-delivery cost and reliability without encouraging unsafe driving or excessive order grouping. The sys…Read guide →Delivery ManagementDelivery Pricing ModelsA delivery charge should be a deliberate part of the commercial model, not a copy of a competitor’s checkout. The right structure depends on zone…Read guide →Delivery ManagementDelivery During Busy PeriodsBusy-period delivery should be controlled as one system with the kitchen. Adding drivers alone will not solve a queue that is already late before…Read guide →Delivery ManagementEmploying Delivery DriversTaking on delivery drivers creates more than a rota. The business needs a lawful working arrangement, safe journeys, suitable vehicles, clear pay…Read guide →
Connect customer ordering with operations and profit
Use the wider guide library to check the menu, kitchen, fulfilment, payment and financial implications of each decision.
Browse all practical guides